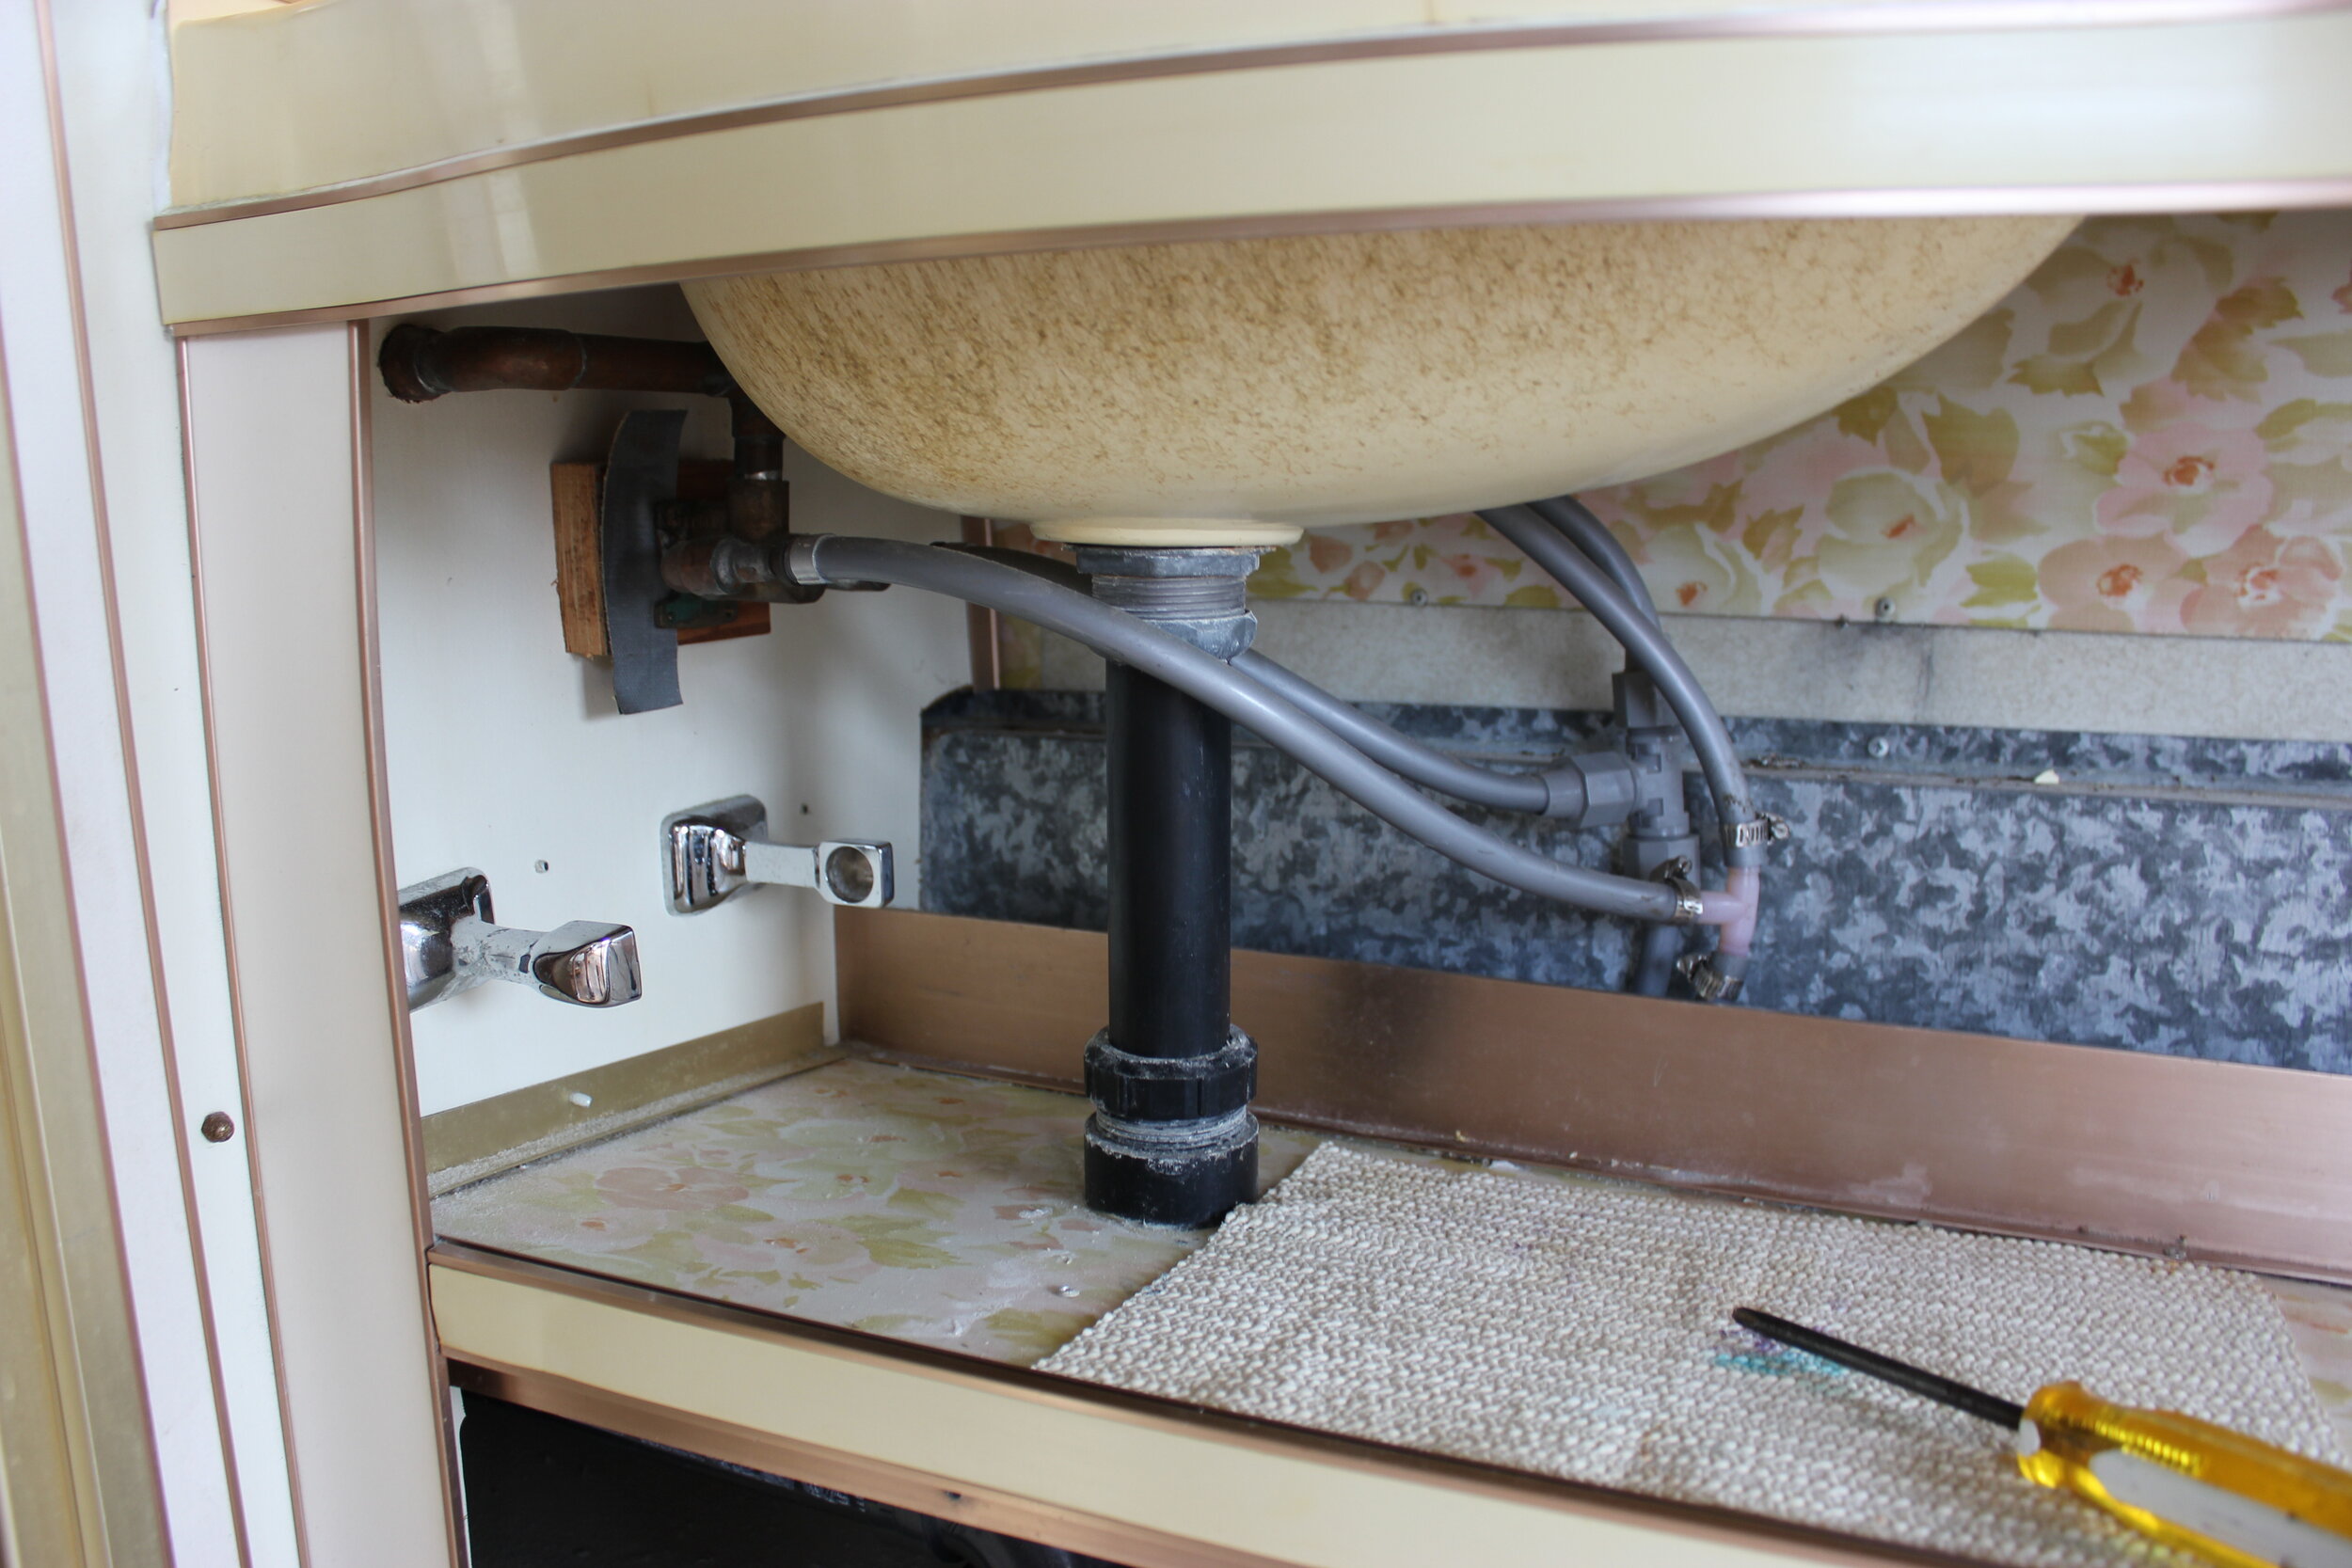
Bye bye peachy flower explosion
Now that the back bedroom was gutted, it was time to move forward. Andy had to teach me how to drill out rivets, as well as how to remove them with a hammer and flathead screwdriver. I must admit, it’s quite satisfying… until you realize you have hundreds more to go and they tend to get stuck on the drill bit which don’t always come off easily. I’m sure those that are pros at this stuff would have moved much faster than me, but one step at a time and it got done.
Next was gutting the bathroom. There was a peachy flower explosion in there that I could not wait to tear down. Good riddance!
BEFORE PICTURES


I started with the higher cabinetry, mirror, light fixtures… anything that was attached to the bathroom / bedroom wall. Once all of that was down, I could then take two walls out and create more space in there. My, then 7 yr old, son, Kenne, was a big helper taking some pieces down as well. It’s amazing how much was crammed inside such a tiny space! For those of you thinking about, getting ready to, or in the process of restoring an Airstream (or anything for that matter)… take lots of pictures of the details before you disassemble everything. I didn’t want the re-building process to be even more difficult for Andy and myself without having pictures of everything prior to tearing it down. For Andy, it probably wasn’t that essential, because he literally knows how (or figures out how) to build anything. For me… I’m clueless with a lot of drive.
DISASSEMBLING / TEARING DOWN PICTURES


